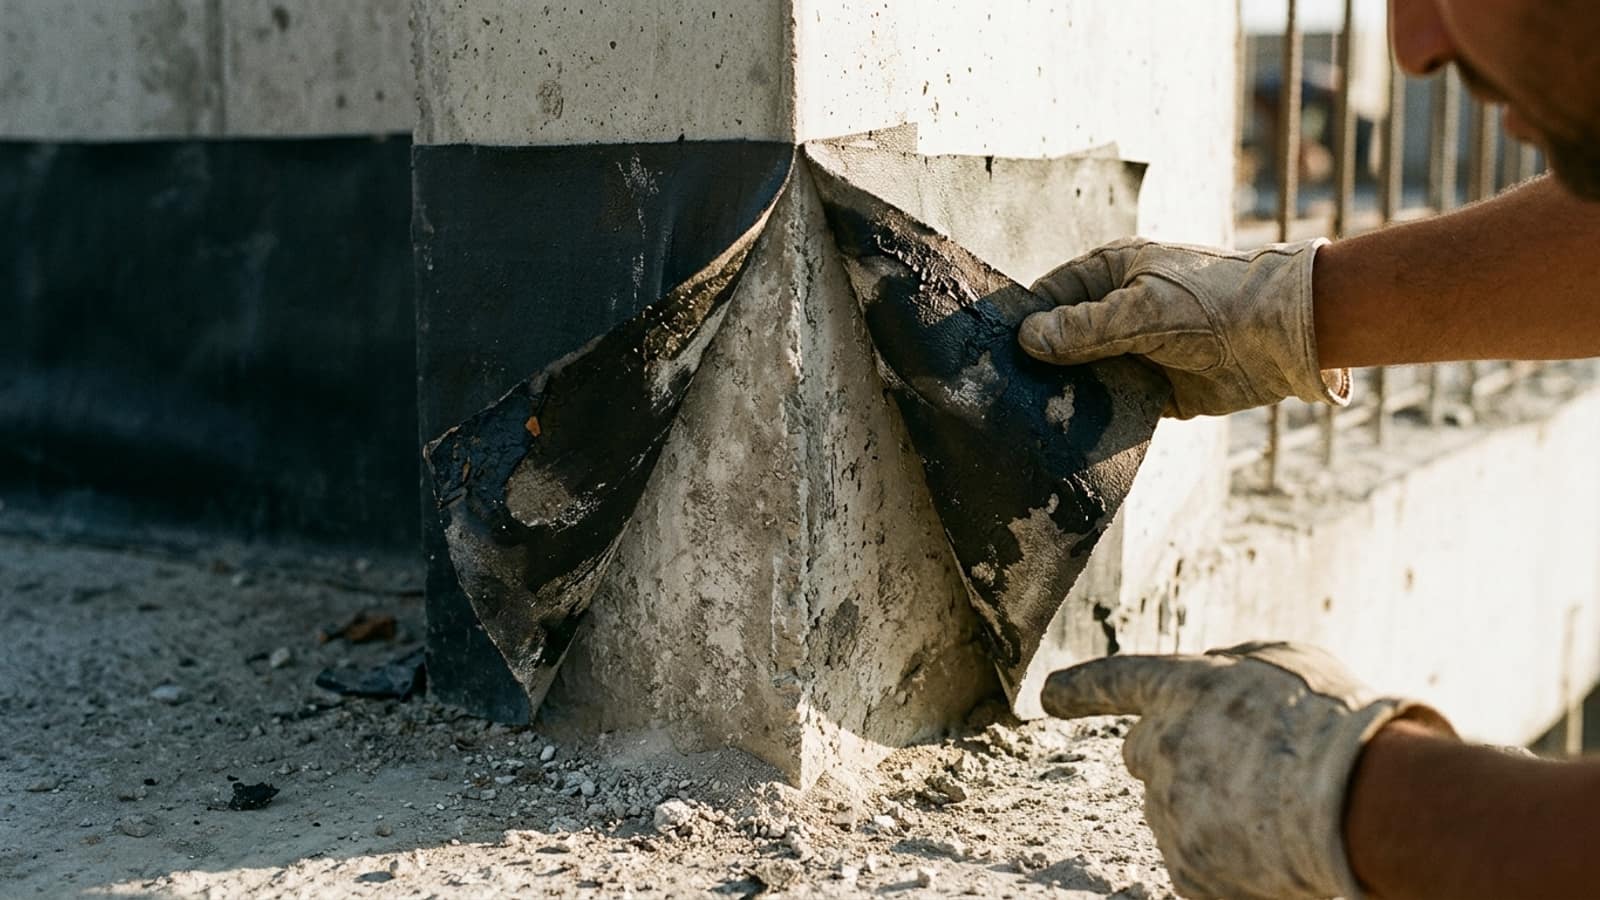
The vast majority of terrace waterproofing failures start not on large surfaces but at details such as drain outlets, parapet bases and pipe penetrations. An application that solves the detail has solved the terrace.

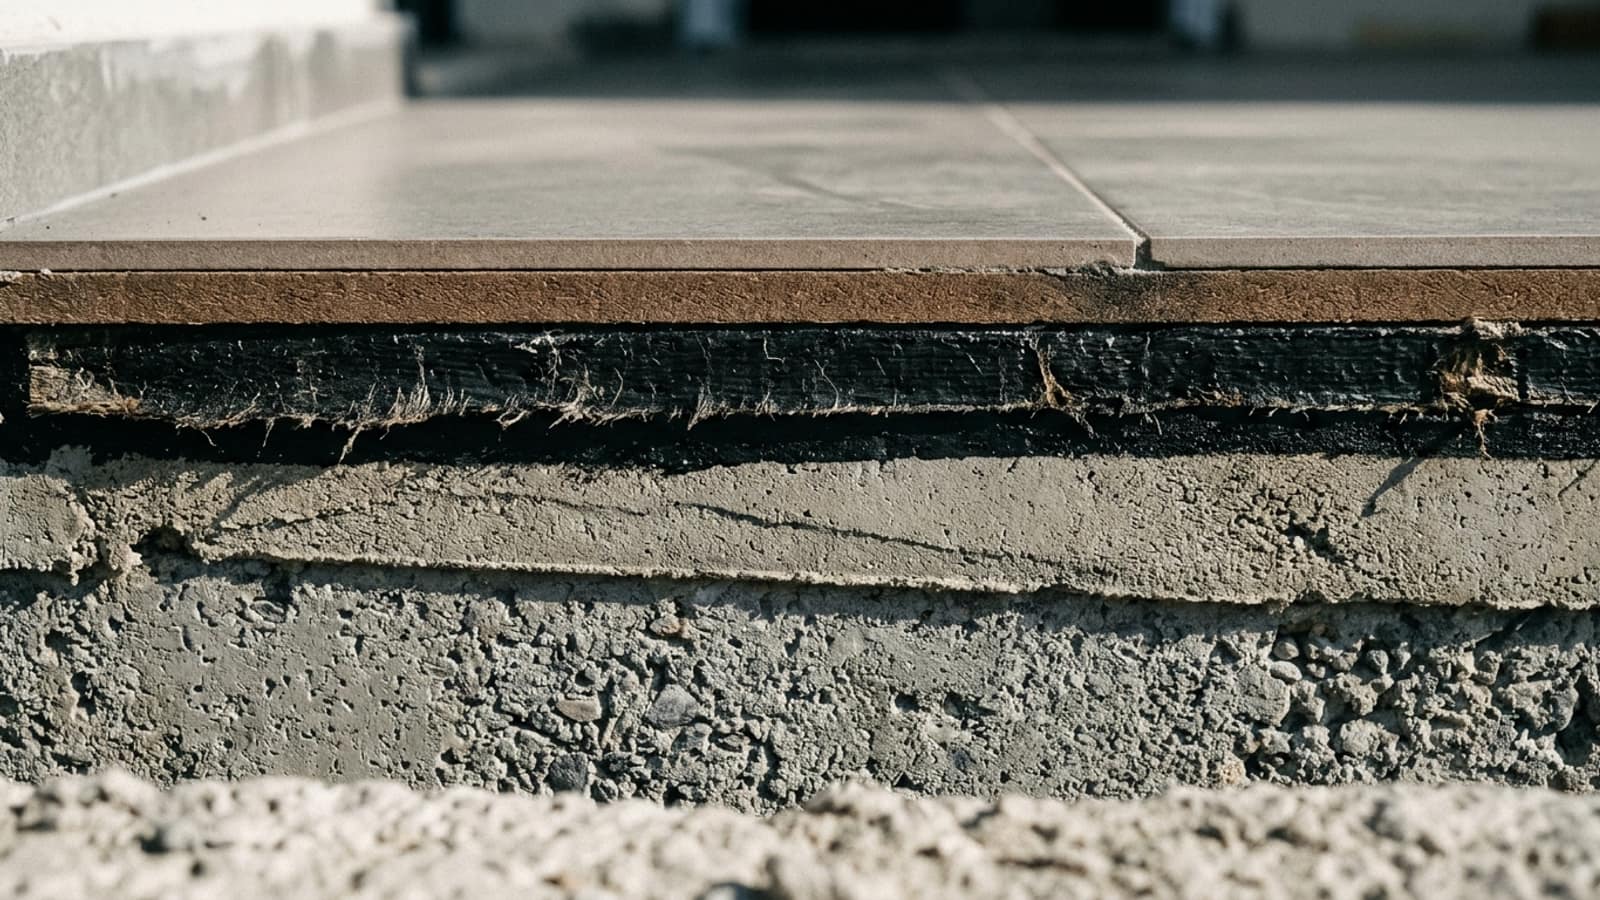
The terrace is the most heavily stressed surface of a building. The temperature difference between summer and winter reaches 60 °C, the surface is permanently exposed to UV, meltwater sits on it for days, and all of this is carried by a single thin layer. Done correctly, terrace waterproofing works for decades; done incorrectly, the damage first appears on the ceiling below and then in the reinforcement.
This guide follows the order used on site: surface and falls preparation, material selection, detail solutions, water testing and the maintenance schedule. At the end you will find the six mistakes we encounter most often and how to avoid them.

The vast majority of terrace waterproofing failures start not on large surfaces but at details such as drain outlets, parapet bases and pipe penetrations. An application that solves the detail has solved the terrace.
Ahmet Toka, General Manager
On a terrace, the loss of waterproofing does not begin where the leak appears. Water enters through an opening in the waterproofing layer, travels horizontally in the gap between screed and concrete, and drips into the floor below through a crack metres away. This is why pointing at a ceiling stain and saying "it comes in here" is usually wrong.
Water reaching the reinforced concrete starts two separate types of damage. The first is reinforcement corrosion: rusting steel expands, cracks the surrounding concrete and spalls the cover. The second is the freeze-thaw cycle; water freezing in the concrete pores loosens the structure a little more with every cycle. Both progress silently, and by the time they become visible the job is no longer waterproofing but concrete damage repair .
Most of the decisions that determine the life of the waterproofing are made before the first tub of material is opened. Three things must be resolved before application.
Falls. The terrace surface must be graded towards the drains at a minimum of 2%. On a terrace without falls, water stands on the surface no matter how good the material is, and magnifies every defect. Where there are no falls, a screed to falls is formed with a screed application .
Details. Internal corners receive a fillet and external corners a radius. This allows the membrane to turn a sharp corner without breaking. Drain outlets are set a few millimetres below the surface so that water can flow into them.
Surface. The substrate must be dry, dust-free, grease-free and sound. Loose parts are scraped off and cracks are filled with repair mortar. If the moisture content is above the manufacturer's limit the waterproofing will not bond; this measurement must not be skipped.
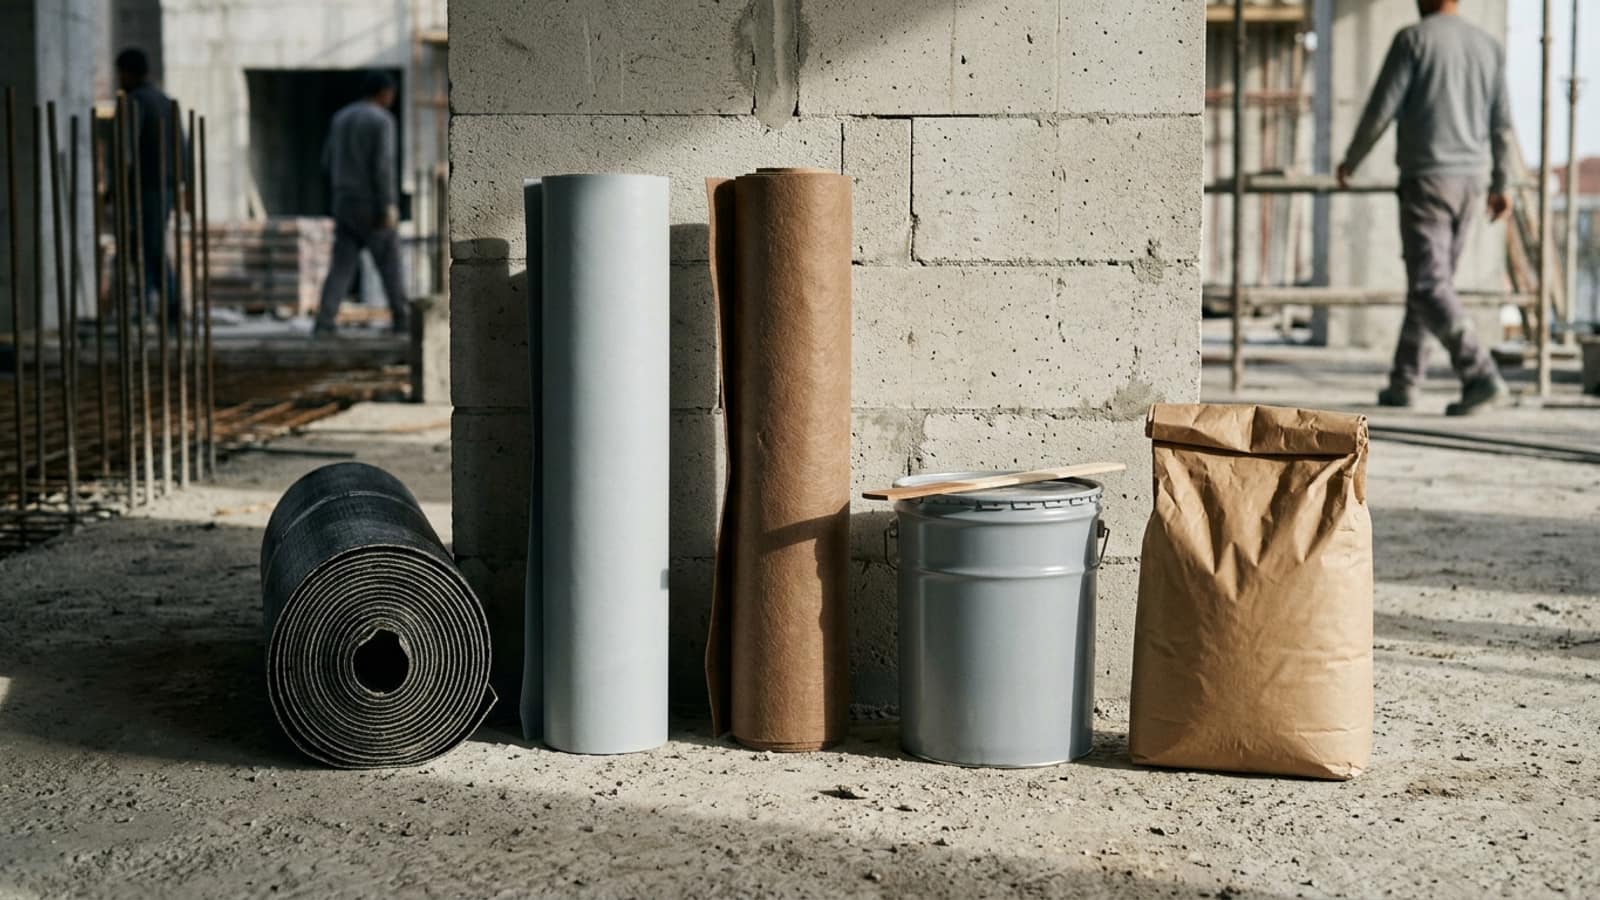
There is no single "best" material; the use of the terrace, whether it will be left exposed or covered, and the density of details determine the choice. The four systems below are the ones most used on site.
These are roll systems laid by torching or with cold adhesive. They are economical, have a guaranteed thickness and high mechanical strength. If the surface will be left exposed, a mineral-surfaced type must be chosen. On terraces with many details the number of laps increases, so workmanship quality becomes decisive. For details see our bitumen-based waterproofing applications page.
Applied by roller or airless spray, these cure into a seamless, elastic film. Their greatest advantage is seamlessness: they wrap details such as drains, pipes and corners without any joint. Crack-bridging capability is high. An aliphatic top coat is required for UV resistance, and thickness control depends entirely on the applicator's discipline. Details: polyurethane-based waterproofing applications.
These are synthetic sheets joined by hot-air welding. They have high UV and weather resistance, and light-coloured options lower the surface temperature. On wide, flat terraces they are applied quickly, either mechanically fixed or ballasted. Weld quality depends on machine settings and the operator. See PVC and TPO applications.
Two-component systems applied by brush or trowel. Their greatest advantages are that they can be applied to a damp surface and that tiles can be bonded directly on top. For this reason they are preferred on balconies and small terraces that will be covered. Details: cementitious applications.
In an inverted roof detail (where the waterproofing sits below the thermal insulation) the sequence changes: waterproofing is applied directly to the concrete, followed by extruded polystyrene and then geotextile and ballast. This solution protects the membrane completely from temperature swings and UV.
Terrace waterproofing is not a fit-and-forget job. A short inspection twice a year, ideally in early autumn and in spring, prevents most major repairs.
If there is widespread blistering, a network of wide cracks or leakage at more than one point, renewing the system as a whole is more economical than spot repair. For an overview see our waterproofing service page.
Give your structures complete protection against the harmful effects of water and damp with Likit İzolasyon! With our foundation, roof, wet area and façade waterproofing services we make your buildings durable and long-lasting. Get in touch now for professional service!
Service details →Likit İzolasyon provides superior protection on roofs, terraces, foundations and wet areas with polyurethane-based waterproofing solutions. Contact us now for modern waterproofing solutions applied by spray and roller methods!
Service details →Bitumen-based waterproofing solutions with Likit İzolasyon! Give your structures a long life by providing superior protection against water and moisture in foundations, retaining walls and wet areas. Contact us now for professional service.
Service details →Provide long-lasting protection against wind, snow and rain on roof decks with PVC and TPO waterproofing applications. Reach waterproofing solutions that meet international standards with the expertise of Likit İzolasyon!
Service details →On an average residential terrace it takes 3–7 days including removal, surface preparation, application and the water test. The deciding factor is usually not the surface area but the number of details and the waiting time needed for the surface to dry. Application is not possible in wet weather.
If the existing layer is sound, fully bonded and free of blisters, a compatible system can be applied on top. However, if moisture is trapped underneath or there is extensive blistering or delamination, the old layer must be removed; otherwise the trapped vapour will lift the new layer as well.
It can, provided temperature and humidity limits are respected. Most liquid systems cannot complete their cure below +5 °C and at high relative humidity, while bituminous membranes become brittle at low temperatures. Application should be postponed during periods with a risk of frost.
Yes. Systems that accept direct bonding are chosen for this (cementitious flexible coatings or polyurethane systems of suitable hardness). Tiles are not bonded directly onto a membrane; a protective screed is required in between. The joint and movement joint layout in the tiling must also be planned.
Because water can surface far from its entry point, visual identification is often misleading. The entry point is narrowed down with zone-by-zone flood testing, dyed water and moisture measurement. In accessible structures a thermal camera also helps to distinguish damp areas.
Surface area, the chosen system, the number of details (drains, flues, parapets), whether the old layer will be removed and the protection layer to be laid on top are decisive. A sound price can only be given after an on-site survey; in terrace waterproofing the most expensive option is the application that has to be repeated two years later.
With over 25 years of field experience, let us determine the right solution for your building together. Contact us for a survey and quotation.
Over 25 years of field experience in waterproofing, floor coatings and structural strengthening. This article is based on applications encountered on site and the standards currently in force.