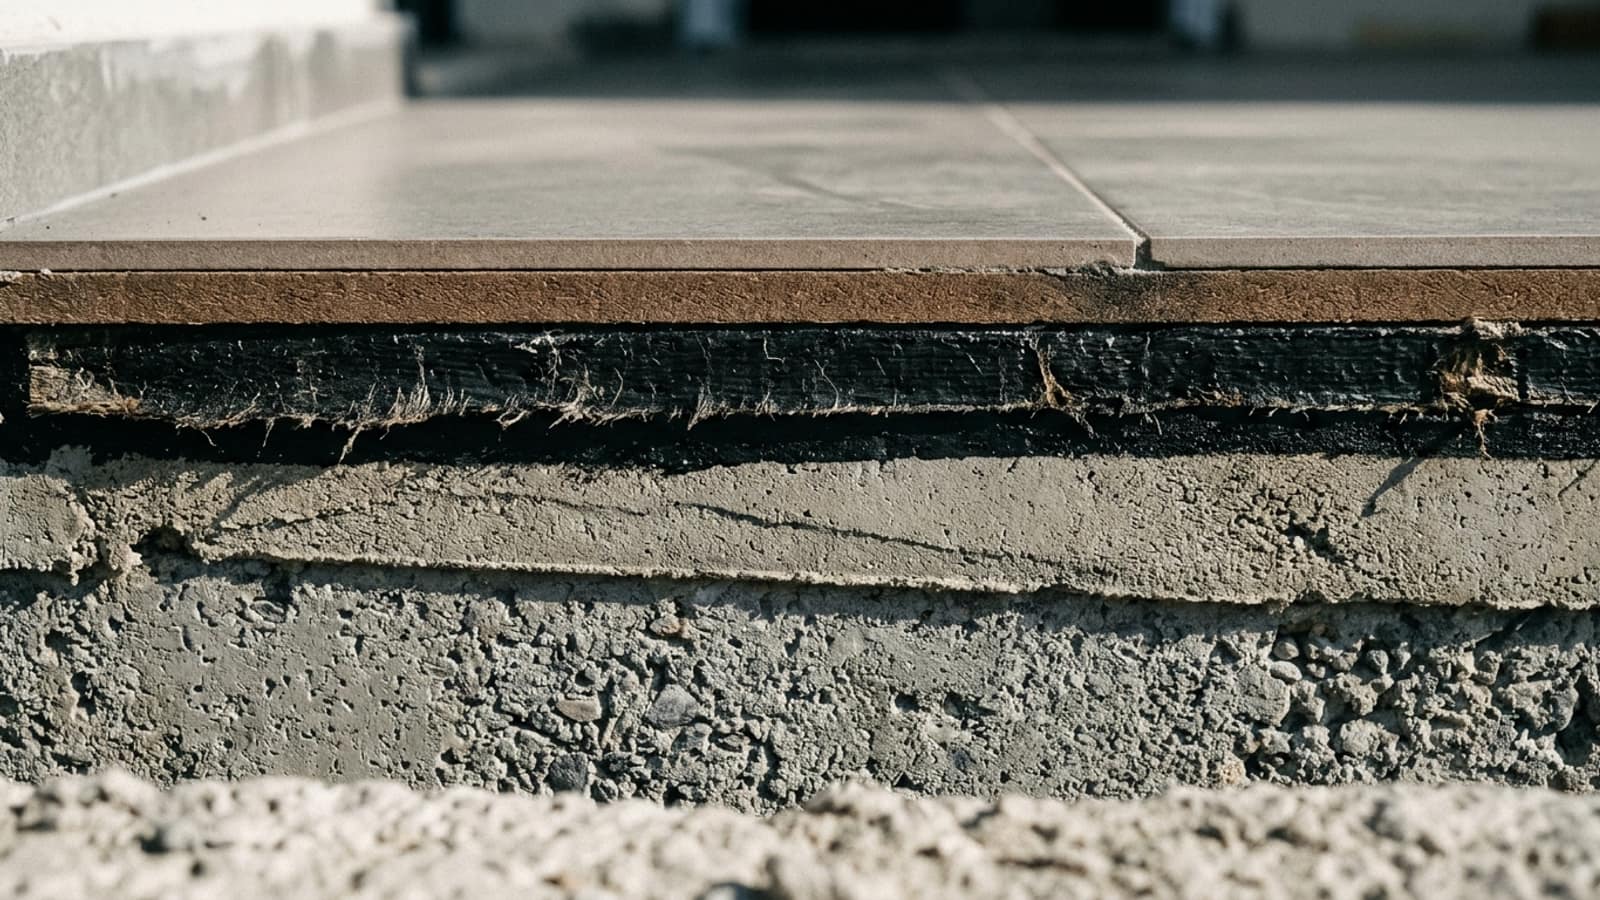
What separates good work from bad work in waterproofing is not the product used but the care shown at the stages nobody sees. Once surface preparation and detail reinforcement are complete, the job is largely done.

When we examine waterproofing failures a striking pattern emerges: the vast majority of problems are caused not by inadequate materials but by shortcomings at five specific stages of the application. The same product, on the same surface, works flawlessly for twenty years in one building and lets water through within two years in another.
In this article we take those five points one by one. For each we explain what goes wrong, how it should be done, and how to check it before the work is handed over. Whether you are supervising your own project or evaluating a quotation, these five headings give you a checklist.

What separates good work from bad work in waterproofing is not the product used but the care shown at the stages nobody sees. Once surface preparation and detail reinforcement are complete, the job is largely done.
Ahmet Toka, General Manager
No waterproofing material works on a surface it cannot bond to. Loss of adhesion means that water entering beneath the system spreads freely, which makes locating the leak point impossible.
Correct surface preparation delivers three things: cleanliness (removal of dust, grease, form release agent and loose material), soundness (scraping back friable surfaces and making them good with repair mortar) and dryness (bringing moisture below the level the system permits).
How to check: If condensation forms within a few hours under a sheet of clear plastic taped to the surface, the surface is not yet dry. A surface that leaves dust when rubbed by hand must be mechanically cleaned before priming.
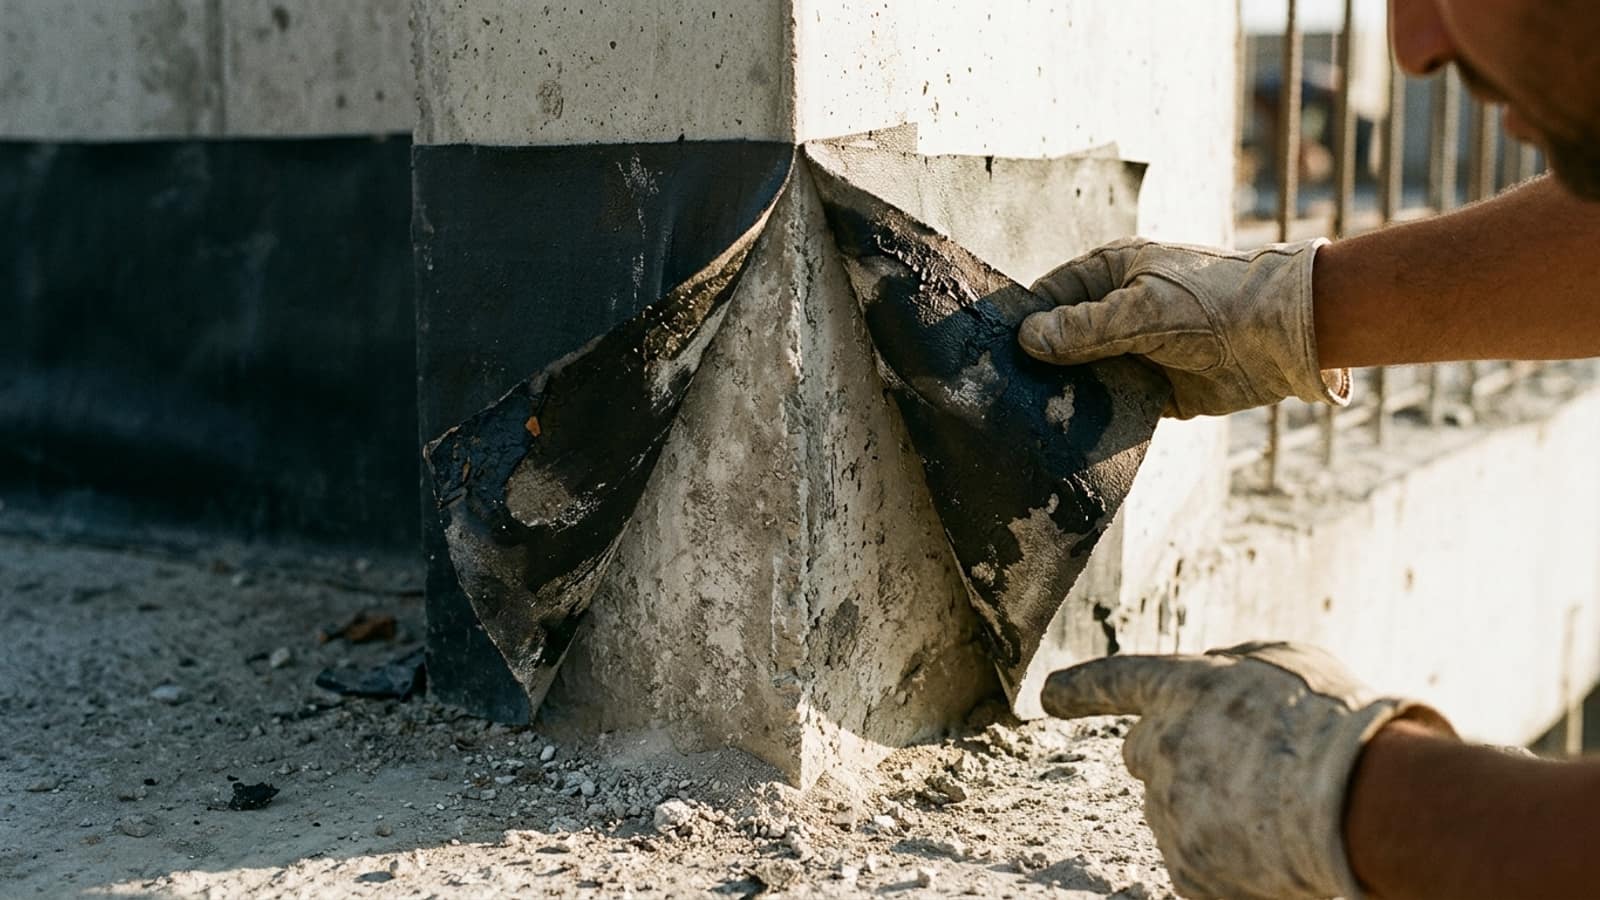
The overwhelming majority of leak reports come not from wide flat surfaces but from details. The reason is simple: on a flat surface the material can be left to do its work, whereas at a detail every centimetre is resolved by hand.
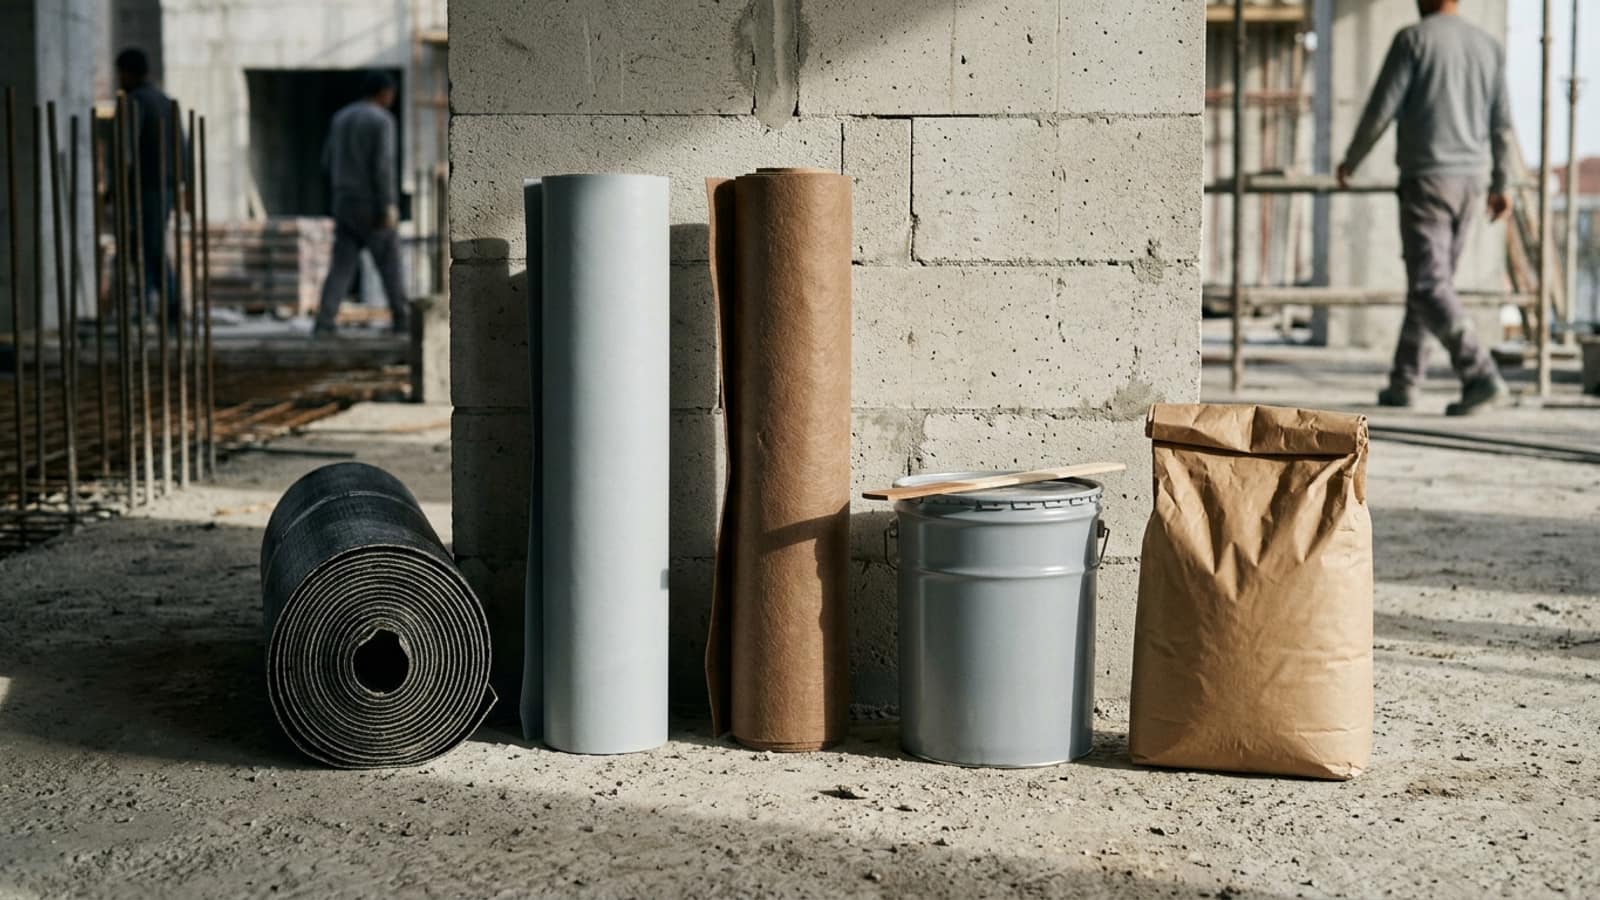
The most common mistake in system selection is using the same material on every surface because "we were happy with this product". What matters is not the material's past success but the conditions of that surface.
The direction the water comes from is critical. Positive-side application (the side the water comes from) is always preferred; however, in places that cannot be reached from outside, such as basements, systems that work on the negative side (from inside) are required. This distinction directly determines the list of usable products.
If movement is expected on the surface, an elastic system is mandatory. If there is chemical exposure, the resistance table must be checked. In structures under permanent water pressure, the system's pressure resistance must be verified. For a detailed comparison see our waterproofing service page.
This is the most insidious defect in liquid-applied systems. The statement "we applied two coats" guarantees nothing; what matters is the amount of material per square metre. An area left thin is invisible to the eye, but that is where water passes at the first strain.
This is the step most often skipped, yet it is the cheapest insurance available. The cost of a leak found after the finish, screed or backfill has been placed is many times the cost of the test.
How it is done: Drains are temporarily blocked, the surface is flooded to a few centimetres and held for at least 24 hours (preferably 48). During this period the ceiling below and the surrounding surfaces are observed. A noticeable drop in the water level is also a sign of leakage.
On pitched roofs and vertical surfaces where water cannot be held, heavy spray simulation or moisture measurement is used. In water tanks and pools the test is carried out by filling and monitoring the level. The test must be recorded and handed over in writing with the date and duration.
Before accepting the work, ask these eight questions. If you get a clear answer to all of them, the application has most likely been done correctly.
If you are looking for detection methods for an existing leak, our injection applications and crack repair pages will guide you.
Give your structures complete protection against the harmful effects of water and damp with Likit İzolasyon! With our foundation, roof, wet area and façade waterproofing services we make your buildings durable and long-lasting. Get in touch now for professional service!
Service details →Make your surfaces durable and attractive with joint sealing applications. Achieve long-lasting results with the professional joint sealing solutions of Likit İzolasyon!
Service details →Permanently stop water ingress through cracks with injection waterproofing. Trust Likit İzolasyon for effective solutions in basements, car park walls and terrace slabs!
Service details →With crack repair we bring durability and good looks to your buildings. Achieve long-lasting results by removing the causes of cracks with the professional solutions of Likit İzolasyon!
Service details →Glossing over the details. A system applied flawlessly across a wide surface can still let water through because the drain connection or parapet upstand was detailed incorrectly. Most of the failures we see on site begin not on square metres of surface but in detail areas a few centimetres across.
Yes. A leak found after the protective screed, tiling or backfill has been placed requires those layers to be removed. A wait of 24–48 hours largely eliminates that risk. Ask for the test to be recorded in writing.
Non-destructive measurement of cured liquid systems is limited; usually a small sample is taken and measured through its section. For this reason the check must be made during application: wet film thickness measurement and total consumption comparison are the most practical methods.
Only with certain systems. Most cementitious products can be applied to a damp (but not ponding) surface. Polyurethane and bitumen-based systems require a dry surface; on a damp surface blistering and loss of adhesion occur. No decision should be made without measuring the moisture content.
No. An expansion joint is a gap deliberately left so that the structure can move. A membrane stretched over it will tear at the first movement cycle. These areas are resolved with special tapes that leave a loop to accommodate movement and with suitable joint sealants.
A waterproofing layer left exposed is directly subject to UV radiation, temperature swings and mechanical impact. A protective screed, drainage board, gravel ballast or tiling absorbs these effects and significantly extends the life of the system. The protection layer is part of the waterproofing, not an ornament added afterwards.
With over 25 years of field experience, let us determine the right solution for your building together. Contact us for a survey and quotation.
Over 25 years of field experience in waterproofing, floor coatings and structural strengthening. This article is based on applications encountered on site and the standards currently in force.